43 how to make labels on cricut explore
DIY Product Thank you Tags, Stickers and Labels with Cricut. Beside delivering a good quality product, presentation is very important. Since it shows that you have put a lot of love and dedication to your work. Therefore, I present you the STEP-by-STEP tutorial on how to make your own product thank you cards using Cricut's print and cut option. Put a special and unique touch to your products. How To Make Labels With A Cricut Joy - Step By Step Guide Use a tape measure on the item you are labelling, to work out how wide and tall you want the label to be. You'll need this information when you create the design in step #5. We wrote down the dimensions for everything and then got the Cricut and my laptop out…. Step 3: Choose The Right Vinyl For The Project
How to Make Cricut Labels — Life in Jeneral Cut out your labels. Use your paper cutter to trim the vinyl to the size of your mat, or the size of your cut. Stick the vinyl to the mat and double check that it's aligned correctly to where the labels are going to be cut out. Set the material to Smart Vinyl, hit the arrow button and then hit the Cricut button.
How to make labels on cricut explore
How to Make Stickers Using Cricut Explore Air 2 - SugaBaby Co Cricut Explore Air 2. Sticker Paper. Color Printer. Light Grip Mat. Step 1. Upload your image from external source via PNG file or create an image in Cricut design space. (We love to choose images included with the Cricut subscription) Select the chosen image and add an OFFSET (found in the upper tool bar of design space). Make Label SVGs With Your Cricut To Get Organized Using the text function, type out and arrange the words you want to use, and then resize it to fit within your label shape. You'll want to leave room on all sides again for this step so nothing is squished against the frame. Group all your labels and accompanying text; make sure to weld and then attach them together. Step 3. How to Make Labels with Cricut Vinyl to Clean Up Your ... - Crafty Geek Use the Circut scraping tool (or any hard flat edge will work) to go over the letters and make sure they are adhering to the tape. Then slowly peel off the transfer tape from the backing paper making sure the letters come off with the tape. If a letter is not lifting up, then put the tape back down over that letter, scrape again and then try ...
How to make labels on cricut explore. 3 ways to make labels for organizing with cricut First of all, measure the place where you want to put the label to get the exact size. Go to cricut design space and insert a square, and in the size settings put the exact number of the size to create the label. Then select the text, then go to the font and select the filters option; it's in the top right corner of the font setting box. How to Use Cricut Markers and Pens (with Project Ideas) Instructions for a Pen Project with Cricut. 1. Open up Cricut Design Space and draw out the format of the material you want to write on. Choose whether you want to cut it OR in my instance, I just wanted to see where it was going to write. 2. In the top menu, choose the "Filter" button and choose writing. DIY Spice Jar Labels with your Cricut | Free SVG Templates Click on "Select All" on the top menu to select all of the spices in the canvas, then click on "Align" and select "Align Left," then "Distribute Vertically." Voila! All your spices will be organized. Now it's time to resize them. I don't know about you, but I like my spices to all have the same size. Making Labels with your Cricut - Black Girls Craft First up is demonstrating how I use my Cricut to create labels! Labels are a great way to keep our spaces organized and our supplies easy to find. Below you will see how I used labeling throughout my kitchen and craft room. I just recently rekindled my love for cooking and experimenting with fresh herbs and spices.
HOW TO MAKE PANTRY LABELS WITH CRICUT | DIY Cricut Labels for Beginners ... HOW TO MAKE PANTRY LABELS WITH CRICUT | DIY Cricut Labels for Beginners It's a new year, and I am getting my pantry organized with custom vinyl pantry labels with my Cricut Explore Air 2. I am sharing exactly how I designed the labels in Cricut Design Space for my pantry jars and spice jars.… How to make labels with Cricut Make labels with Cricut Step 1 To design from scratch, click "New Project" on the home page of Cricut Design Space. Step 2 Once on the canvas, on the left-hand navigation bar, you'll see an option for "Images." Step 3 Click that button. You'll now be able to search in the Cricut image library! A Guide To Making Labels with Cricut Print Then Cut Step 4: Cut Out the Labels with Your Cricut Machine With your labels printed, load the paper onto a green StandardGrip cutting mat, aligning the top lefthand corner of the paper with the top lefthand corner of the mat's grid. Load the mat into your Cricut machine and press the Go/Start button. How to Make Vinyl Labels with your Cricut | Adhesive and HTV Make Vinyl Labels in Cricut Design Space Step 1 - Type Text Step 2 - Resize Labels Step 3 - Change Colors & Send to Cut Step 4 - Move Objects to Organize Mat (Optional) Section 1: Cut and Transfer Adhesive Vinyl Labels Prepare Mat with Adhesive Vinyl Cut & Weed Transfer Adhesive Vinyl Label to Surface
How to Use Cricut Flatten to Make Foil Address Labels On a new canvas in Cricut Design Space add a new shape. Click on Square and turn off the size lock. Change the size to 1 inch high by 2.625 inches long (standard return address label size). Then change the color to white. Insert a text box and type in your address. (This is not my actual address, lol!) Online Labels® Sticker Paper Cut Settings for Cricut Explore 3 Our expert crafters hand-tested the Cricut Explore 3 with OnlineLabels.com sticker paper to bring you the exact cut settings for each of our materials. Use the chart below to find the proper cut settings for kiss cut and full cut stickers. Our materials were tested on a Cricut Explore 3 with the fine-point blade. Make labels with Cricut — Easy How-To Instructions with video — Cricut Make labels with Cricut Step 1 To design from scratch, click "New Project" on the home page of Cricut Design Space. Step 2 Once on the canvas, on the left-hand navigation bar, you'll see an option for "Images." Step 3 Click that button. You'll now be able to search in the Cricut image library! How to make stickers with your Cricut Explore - Creative Fabrica Click on the Make It button in your Cricut Design Space, then select the print option. Your printer will now print out your designs first from Cricut Design Space. The printed section or live area will have a black border around the images. This is normal and is how your Cricut will be able to tell or 'read' where your images are to be cut.
3 Creative Ways to Make Labels with a Cricut Explore | The Homes I Have Made
Stickers & Labels Archives - Cricut How to make custom decals with Cricut. A custom decal is the perfect way to add a touch of personality to your belongings. May 20, 2022. Cricut. Read. Everyday Making Everyday Items ... How to make labels with Cricut. November 2, 2021. Cricut. Everyday Making Décor ...
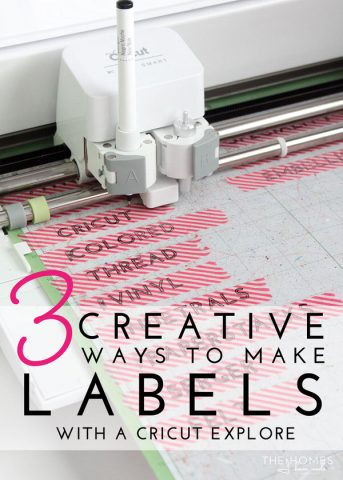
3 Creative Ways to Make Labels with a Cricut Explore | The Homes I Have Made
Cricut Maker 3 vs. Explore 3 For Home Organization Labels The Explore 3 has slightly smaller and more shallow storage cups on top of the machine than the Maker 3 does. And the front door hidden storage compartment on the Maker 3 has three sections versus the Explore 3's two sections. The Maker 3 does have a USB charging port on the side to charge your phone or tablet, but the Explore 3 does not.

How to Address Envelopes with Cricut Joy | The Homes I Have Made in 2020 | Addressing envelopes ...
How To Make Labels with the Cricut Maker - Two Crafty Makers Load this into your Cricut ready to cut and check that your blade matches the blade listed in Design Space. Hit the load/unload button: hit the up/down arrow on your Cricut Maker and then press the Cricut Go button which will be flashing. You can also hit go from Design Space.

Cricut Freebies | Tutorials for Your Cricut Projects
How to Make Vinyl Labels with a Cricut Cutting Machine Step 1- Gather your supplies for making vinyl labels. Cricut Explore Air 2 Cutting Mat Cricut Premium Vinyl (I used teal.) Weeder and Scraper Tools Transfer Tape Label Project in Cricut Design Space Step 2- Create your design. If you are using a Cricut machine, you can find my exact project in Cricut Design Space here.
The Best Cricut Machine on The Market | Amazon Market Place
How to Make Stickers With Cricut - Let's Craft Instead The process for making stickers in Cricut's design space is the same no matter what printer you have. Step 1: Put your design onto a blank canvas in Design Space You can use clip art, things from Design Space, your own files you uploaded, and even photos.

Cheer SVG DXF JPEG Silhouette Cameo Cricut Cheerleader (313161) | Cut Files | Design Bundles
How to Make Stickers on a Cricut - Jennifer Maker A method to print and cut your stickers - I used the Cricut Maker 3 but you can also use the Cricut Maker or Explore Series machines Color Printer (I used the HP Envy 7155) Blue LightGrip Machine Mat Green StandardGrip Machine Mat XL Scraper Tool Brayer (optional) Trimmer or Scissors (optional)

Pin on cricut
Online Labels® Sticker Paper Cut Settings for Cricut Explore Air Our expert crafters have hand-tested the Cricut Explore Air™ with OnlineLabels sticker paper to bring you the exact cut settings for each material. Continue to the chart below to find the cut settings for kiss cut and full cut stickers. Materials were tested on a Cricut Explore Air with the fine-point blade.

Farmhouse Style Pantry Labels SVG DXF png pdf Canister | Etsy in 2021 | Pantry labels svg ...
How to Make Stickers with a Cricut Explore or Maker This way, we will be able to fit as many stickers as we can. To add the rectangle, click on "Shapes" in the left-hand column. Then click on "Square" and adjust the dimensions (just like we did in the last step) to 6.75" wide and 9.25" tall. You'll need to click the lock to unlock the dimensions so you can manually adjust both.
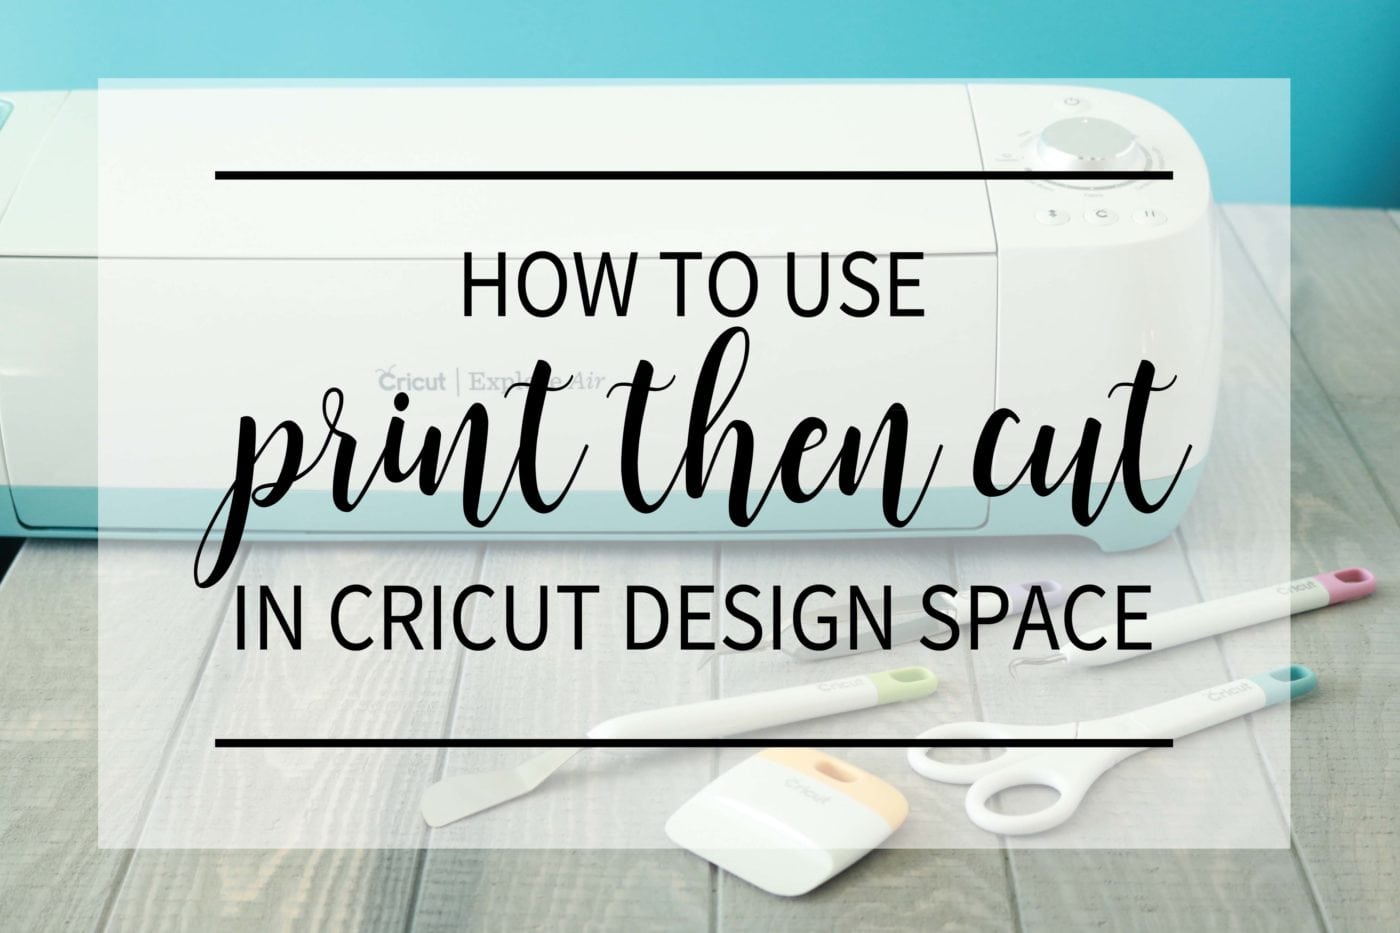
How to use Print then Cut Feature Using Cricut Design Space
How to Make Labels with Cricut Vinyl to Clean Up Your ... - Crafty Geek Use the Circut scraping tool (or any hard flat edge will work) to go over the letters and make sure they are adhering to the tape. Then slowly peel off the transfer tape from the backing paper making sure the letters come off with the tape. If a letter is not lifting up, then put the tape back down over that letter, scrape again and then try ...
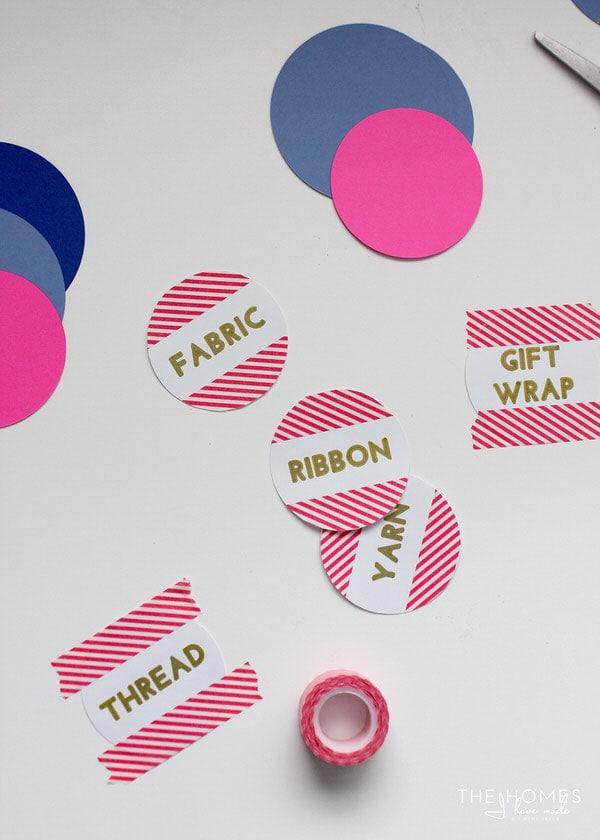
3 Creative Ways to Make Labels with a Cricut Explore | The Homes I Have Made
Make Label SVGs With Your Cricut To Get Organized Using the text function, type out and arrange the words you want to use, and then resize it to fit within your label shape. You'll want to leave room on all sides again for this step so nothing is squished against the frame. Group all your labels and accompanying text; make sure to weld and then attach them together. Step 3.

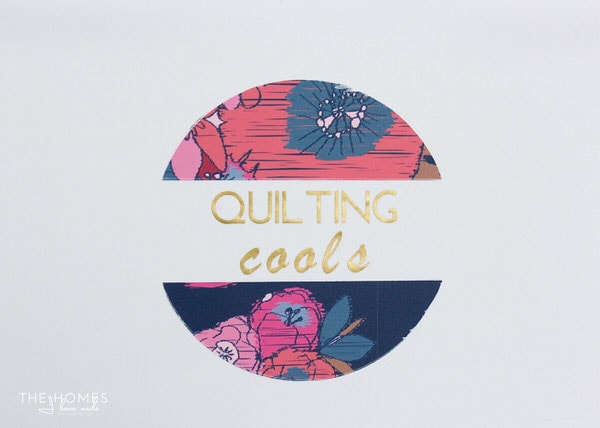
How to Make Labels with Cricut | How to make labels, Cricut, How to make
How to Make Stickers Using Cricut Explore Air 2 - SugaBaby Co Cricut Explore Air 2. Sticker Paper. Color Printer. Light Grip Mat. Step 1. Upload your image from external source via PNG file or create an image in Cricut design space. (We love to choose images included with the Cricut subscription) Select the chosen image and add an OFFSET (found in the upper tool bar of design space).

Cricut Explore Essentials: How to Make Pretty Organizing Labels » Christene Holder

Cricut Explore Essentials: How to Make Pretty Organizing Labels » Christene Holder

Cricut Explore Essentials: How to Make Pretty Organizing Labels » Keys To Inspiration
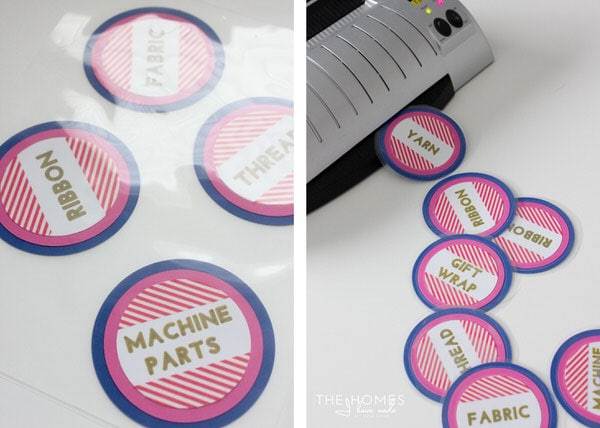
3 Creative Ways to Make Labels with a Cricut Explore | The Homes I Have Made
Post a Comment for "43 how to make labels on cricut explore"